
While it’s true that many of us will always take the easy way out and hire professional painters when we want to change up the look of our homes, there are also those among us who take great pride in doing at least some of the interior painting of our houses ourselves. Not to mention, there is a major cost saving when you opt to paint a portion of your home’s interior yourself without calling in the professionals. The average rate for professional painters is $500 per room, which often doesn’t include the paint itself. You are also likely to pay much more for rooms with “complications,” such as a two story foyer or an intricate tray ceiling in your master bedroom.
As it turns out, doing your own painting doesn’t have to be complicated or difficult. Whether you’re a true artist at heart for whom painting comes natural, or you just want to save a little money by investing time and energy into a DIY project, we have several tips and tricks to share for those of you considering taking (color) matters into your own hands!
Wait for the Right Weather
Did you know that humidity and temperature affect how well your paint will go on and how quickly it will dry? If you try to paint on a high humidity or rainy day, your paint will drip and run more and it will dry more slowly. If you must paint when the humidity is high, you can correct errors as you go, but be sure to leave plenty of time for complete drying between coats. On humid days this often means waiting as much as 6 hours between coats, so your rooms will be inaccessible for longer while drying. Also be prepared to wait longer for your paint to dry in cold weather – when latex paint is cold it dries much more slowly.
Buy in Bulk
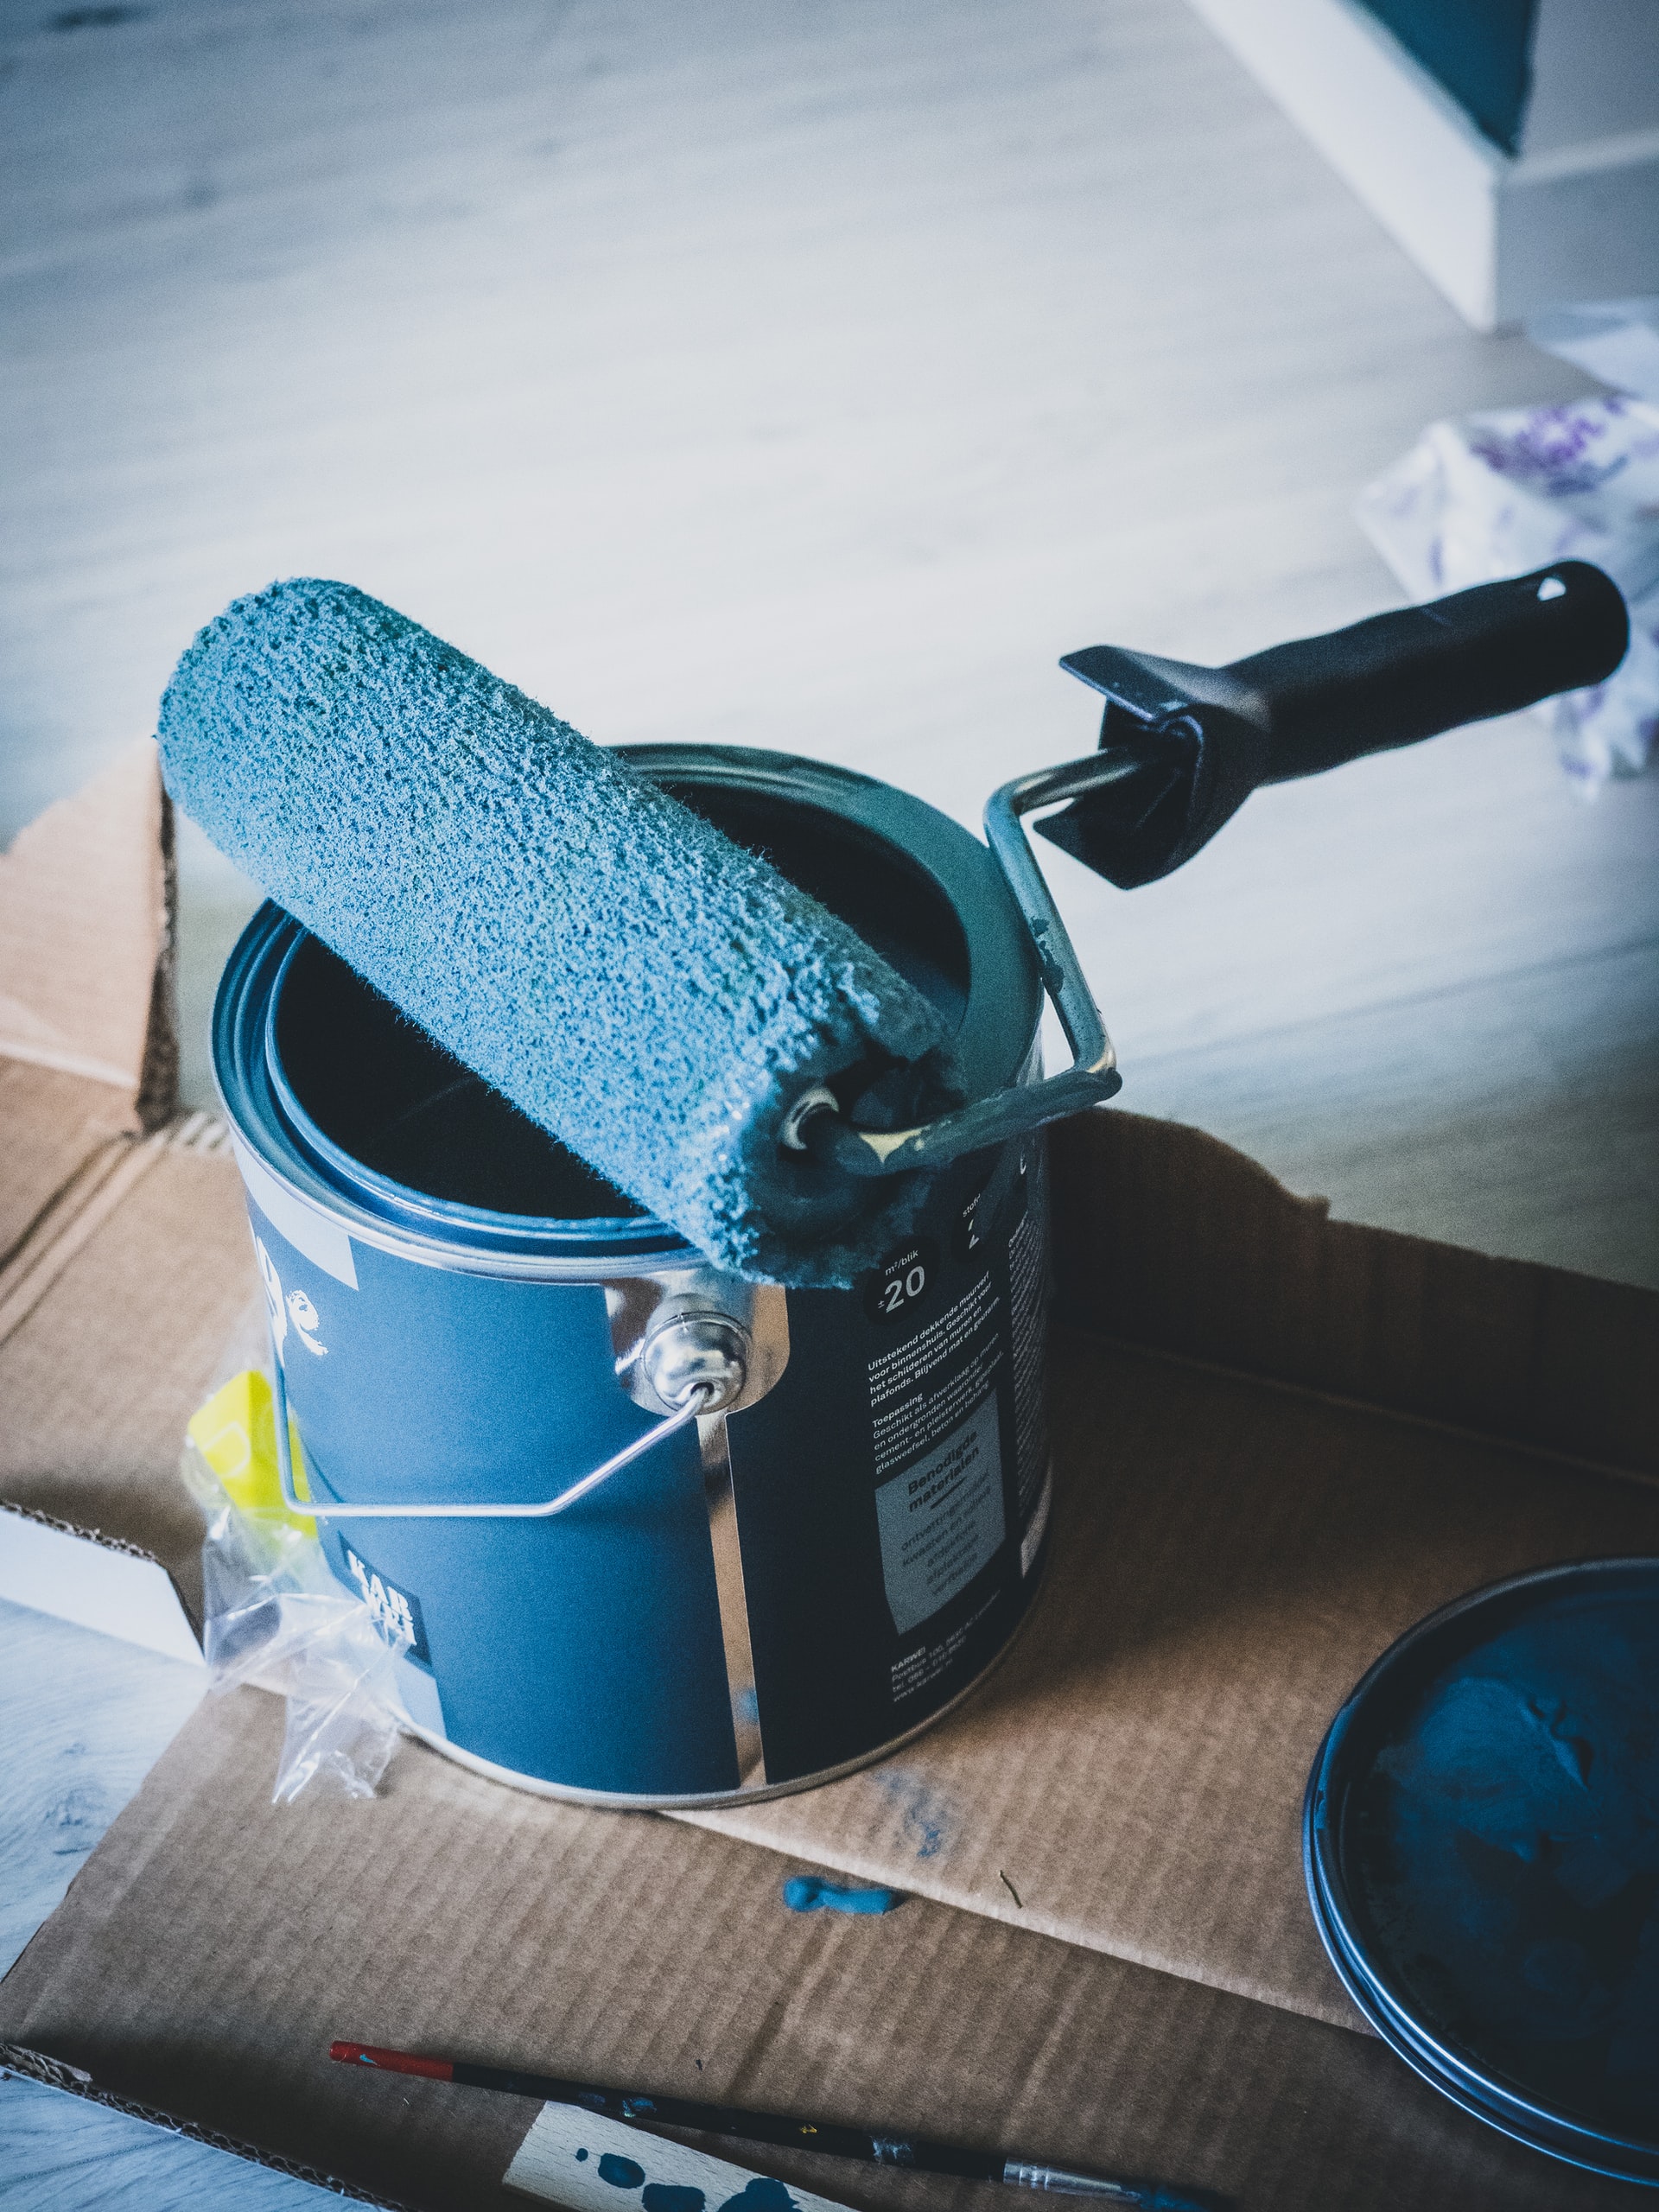
Take measurements of the room or rooms you will be painting, then use an online calculator or talk to the salesperson at the paint store to determine how much paint you will need, so you can purchase and mix it all at once, rather than gallon by gallon. If you will need four gallons of paint, you can have it mixed in one large container to ensure paint color consistency, and to avoid mistakes like running out for one last gallon and inadvertently purchasing the wrong sheen. Even if you do purchase the exact same shade and sheen from the same store, paint color can still vary slightly from one can to the next, so buying paint mixed at the same time is your best option. Already purchased your paint? Empty all of the gallons into a larger bucket and mix it yourself to achieve consistency.
Remove Obstacles
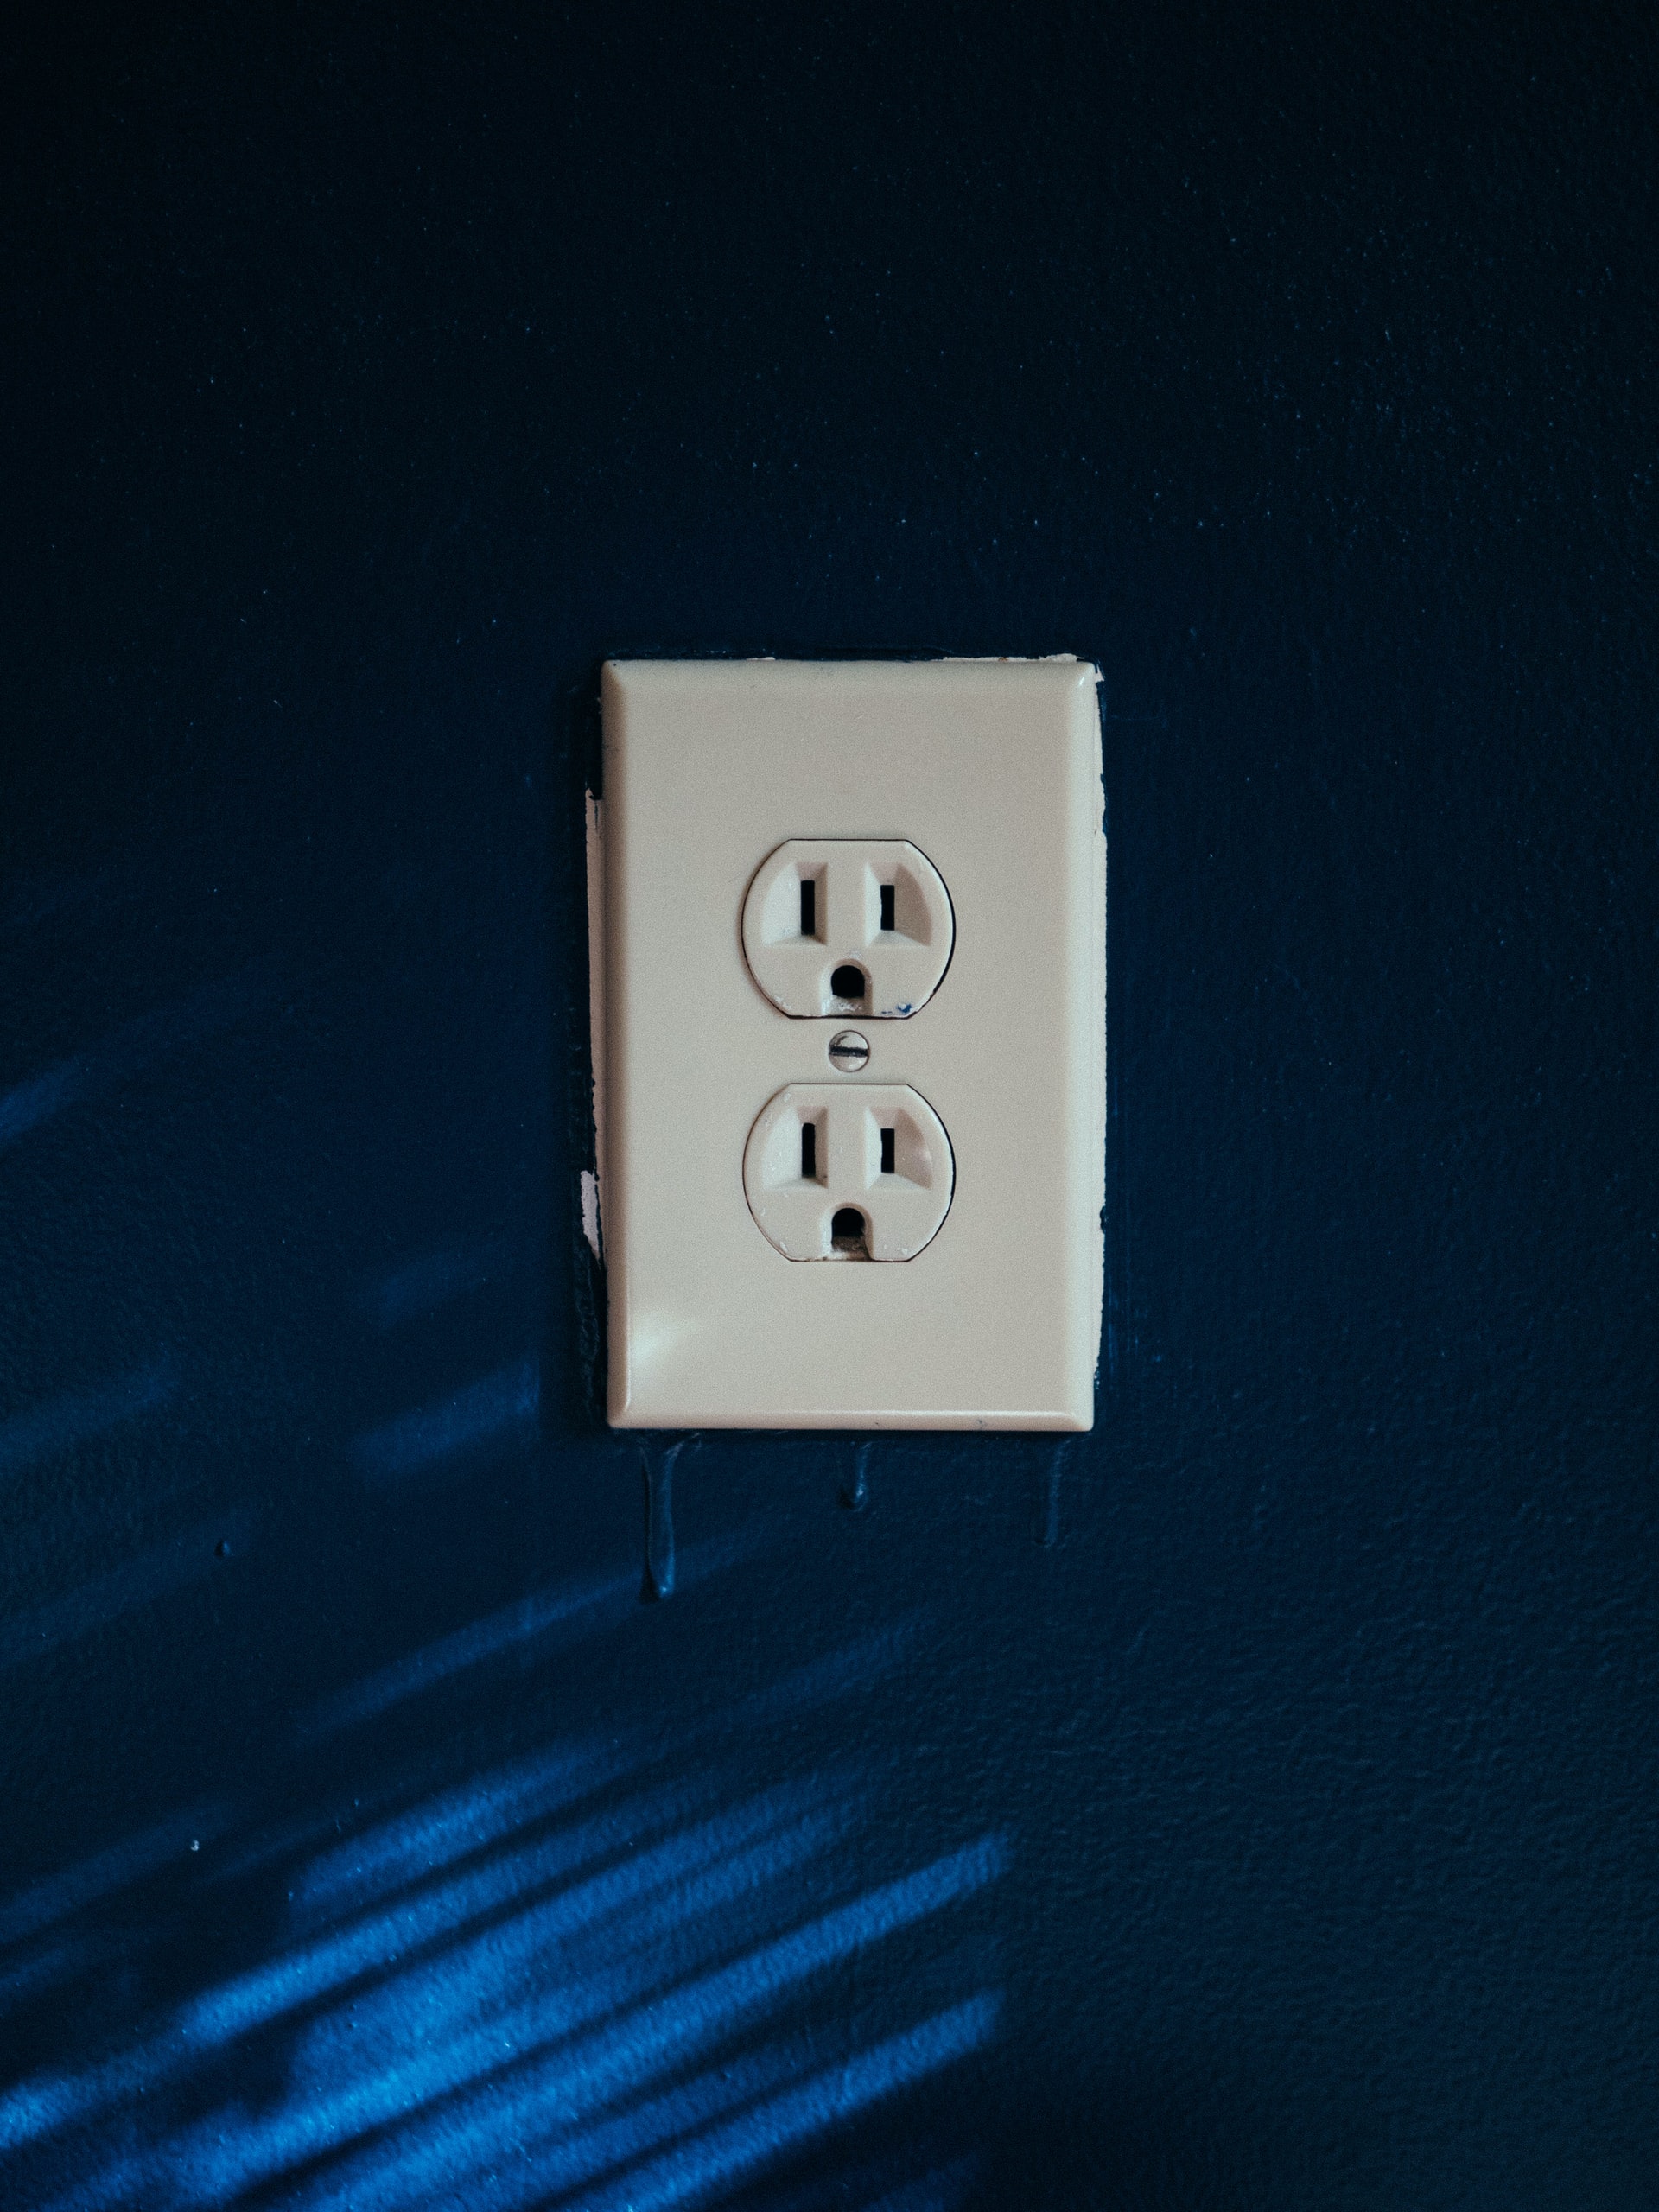
You may be tempted to leave outlet and vent covers up and either tape them off or try to carefully cut in around them. Don’t. Trust us, it is worth the time to take all plate covers off so you can paint all the way to the edge of the drywall cut. You will have fewer paint drips to clean up after painting, and if you decide to change the look of your outlet and switch plates later, you don’t have to worry about slight differences in size showing your previous paint color.
Furniture on the other hand, does not need to be relocated elsewhere. Instead of lugging everything to another room, simply push all of it to the center and then cover with plastic sheets that are taped to the floor at the bottom. This will protect everything from wayward paint sprays and splatters, and from any dust produced if sanding is needed. You can also leave doorknobs in place, and simply secure each one inside a small plastic sandwich bag.
Start with a Clean and Smooth Slate
Have little hands left dirty spots near the light switches or along the bottoms of a bedroom wall? Unfortunately just painting over these spots is not the best idea. Painting over dirty and oily spots will make your paint more likely to chip and peel in that area, and even the faintest of stains can bleed through paint. First use a deglosser or a heavy duty cleaner designed for pre-paint cleaning. You can find these cleaners near the paint in a home improvement store, but be sure to wear rubber gloves as they are quite abrasive.
You will also want to inspect your walls surface for holes and cracks so that you can make repairs and start with the smoothest surface possible. Seal any holes you find and even out low spots on the wall using putty. Sand down any high spots, so that you are left with a level work surface.
Don’t Skip the Primer
Applying primer is an important step in any painting project. Primer covers small imperfections and helps the top coat of paint stick well to the wall. Using primer can also save you time and money by making fewer coats of paint necessary. Primer is especially important if you are painting fresh drywall that has not been painted previously, or if your walls are about to undergo a drastic change in color. This doesn’t only mean going from dark to light. Painting a dark color over a light shade can also be tricky, and primer can help make the transition much more smooth.
It is also very important to use a stain-blocking primer in high-humidity and high-moisture rooms, such as the kitchen, bathrooms and laundry room. This will reduce the chance of the paint flaking, peeling, bubbling or blistering due to contact with elevated moisture.
Cut the Tape
When your paint is dry, always cut the tape from the baseboards first rather than just grabbing an end and pulling it off. Wait a full 24 hours for the paint to dry, then use a utility knife or box cutter to carefully cut a line along the edge of the tape, then pull the tape up at a 45 degree angle. If you don’t take this extra step first, you risk pulling paint off of your wall along with the tape. To make sure your paint is ready, start in an inconspicuous area, and stop cutting if the paint seems gummy. And keep in mind that the darker the paint, the longer the drying time will be.
While we encourage you to wait until your paint is fully dry to remove the tape, it is also important to note that tape should be removed in a timely manner once the walls are dry. Leaving tape up too long can result in chipping when you go to remove it.
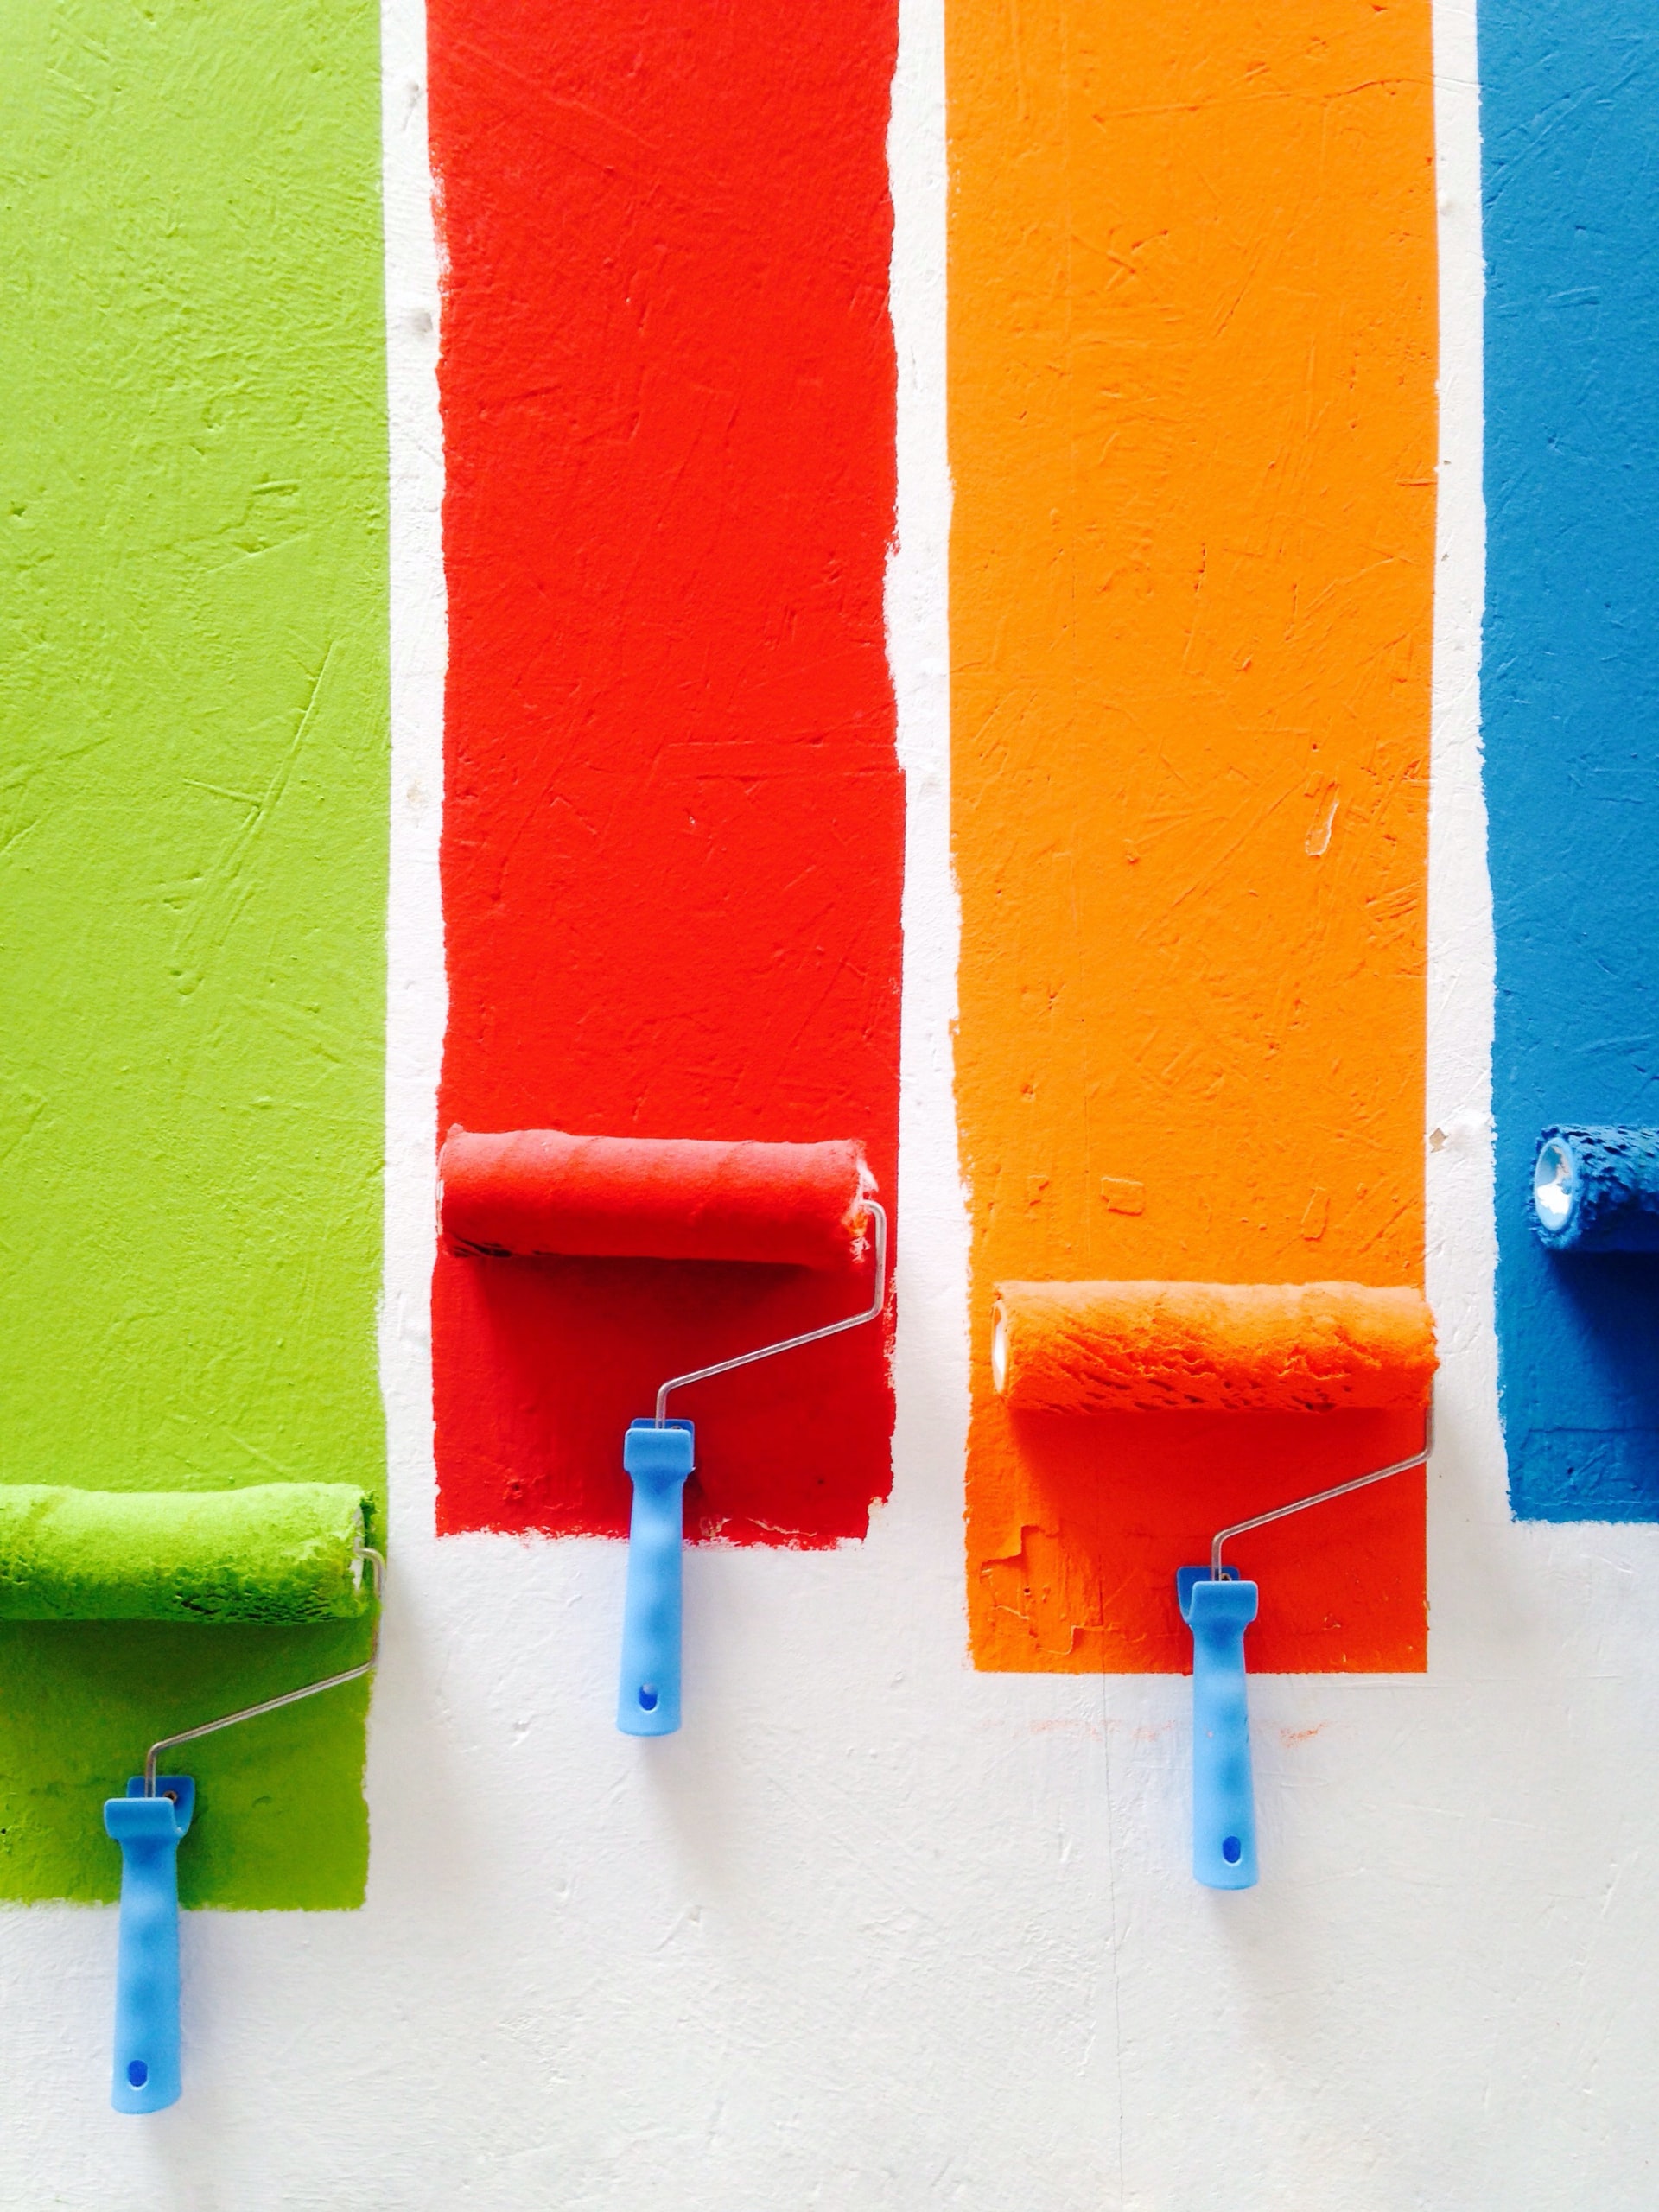
Spring for Top of the Line Tools
Resist the temptation to buy cheap brushes and rollers. If you instead purchase the best quality tools you can afford and clean them well, they will likely last forever. Cheap brushes do not spread paint on the wall evenly, and their bristles can fall out into the paint. More expensive brushes are less likely to lose bristles, and will apply the paint much more smoothly. Similarly, cheap rollers are prone to leaving fuzz and lint on your walls mixed in with your paint, something that will be very noticeable once your walls are dry.
The same is true for the drop cloths you use to protect your flooring. Resist the urge to use old bed sheets or plastic tarp, and instead invest in some canvas drop cloths. Thin sheets will not prevent paint from seeping through into your carpet or flooring. Plastic will keep the paint from leaking through, but will cause the paint to stay wet for far longer, increasing the possibility you will step in it and track it from room to room. Professional grade canvas drop cloths may be expensive in the short term, but they are very durable and will last you a lifetime in most case.
Caring for your Tools
Proper roller and brush care begins before you ever open a can of paint. Before the first use, wash paint roll covers in cool water with a small amount of dish soap. This will remove any loose lint or fuzz. When you must take a break during a painting job, seal your paint brushes inside a plastic freezer bag and store in a cool dry place to prevent drying.
After you have finished painting, clean water based and latex paints from brushes and rollers using warm soapy water. If you have been working with an oil based paint, you will need to clean your brushes and rollers with paint thinner, followed by a rinse of warm soapy water. It is important that you begin cleaning your tools as soon as possible once you have finished painting, to cut down on the amount of paint that dries first. Also, make sure your brushes and rollers are completely dry before storing them in a cool and dry location.