One of the most popular home projects that people attempt on their own is repainting walls in one or more rooms. Even a novice DIY’er can usually handle a project such as painting a bedroom or office, and if you do a little bit of research, you can likely find answers to any questions you may have about painting either via YouTube videos or at the paint counter of your local home improvement store. However, even experienced painters can be known to make a mistake or two. Here are some of the most common mistakes made during a painting project, and how to keep from letting these errors derail the job.
Don’t Rush the Process
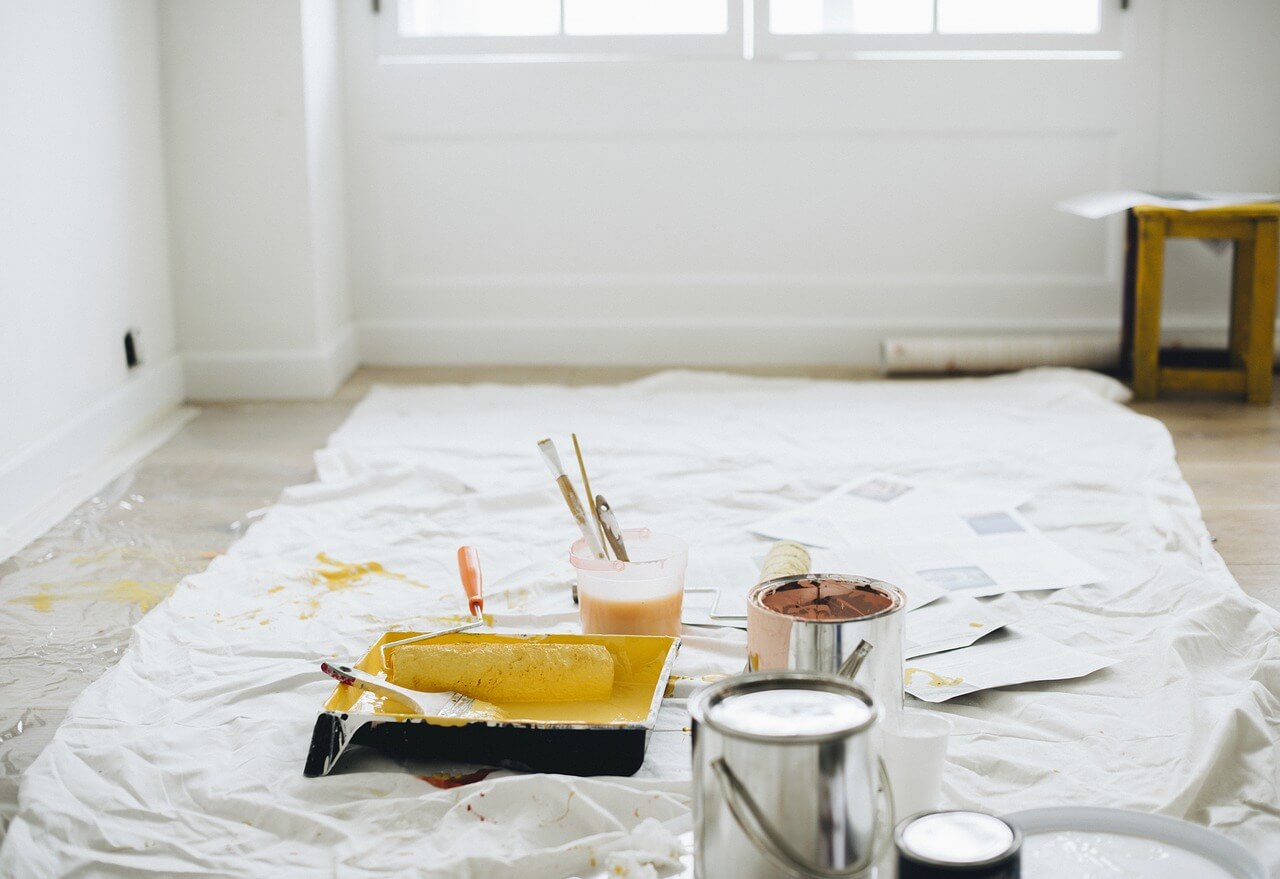
From start to finish, taking your time with every step of your painting process will result in a much better outcome. To avoid drips and splatters, cover all furniture that is being left in the room with drop cloths, and make sure the floor is completely covered as well. Remove outlet covers and switch plates rather than taping them or attempting to paint around them. Wrap door knobs in plastic and tape around the edges of your trim. Make sure your walls are smooth enough to paint, by addressing any cracks, holes or nail pops first before you begin.
Once you’ve applied your first coat, don’t be in a rush to get started on your second coat too soon. If you move on to the second coat too quickly, it can result in peeling paint or visible brush strokes. Follow the instructions on your paint can regarding drying time between coats, and if there are no instructions, remember the standard is to wait 24 hours between coats.
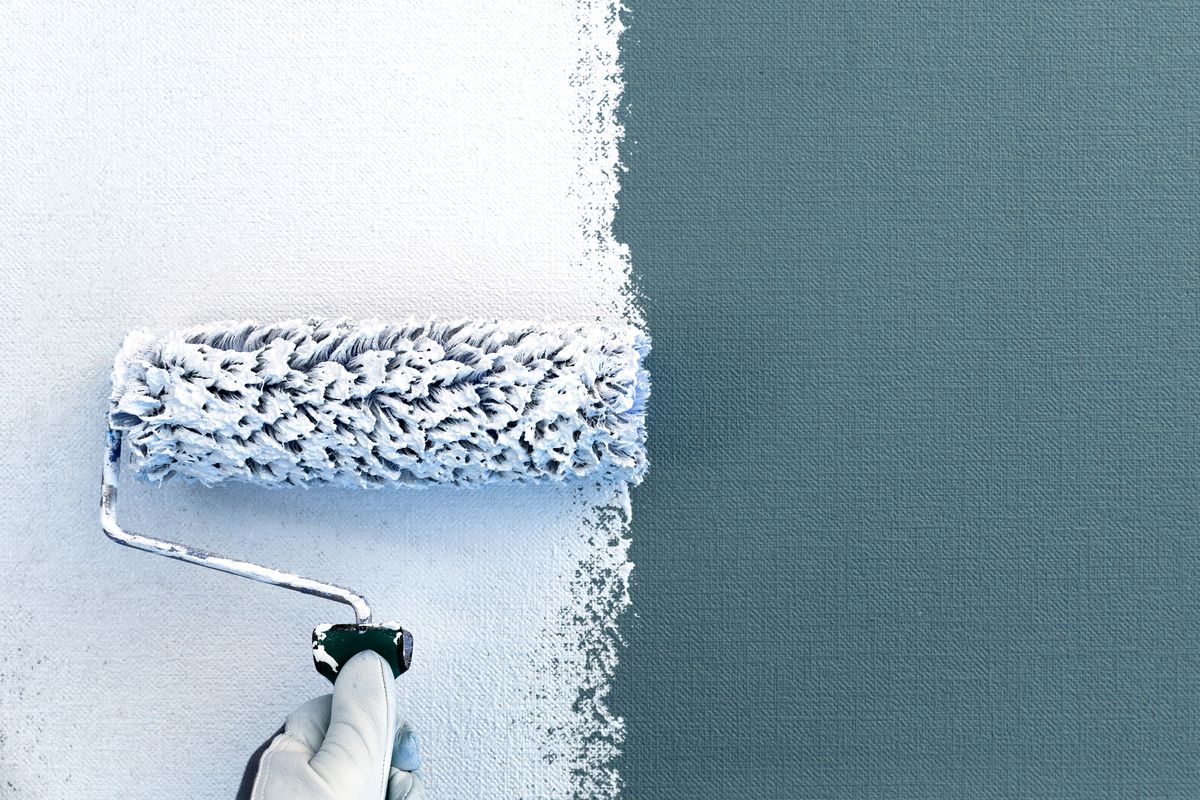
Choose the Right Brush and Roller
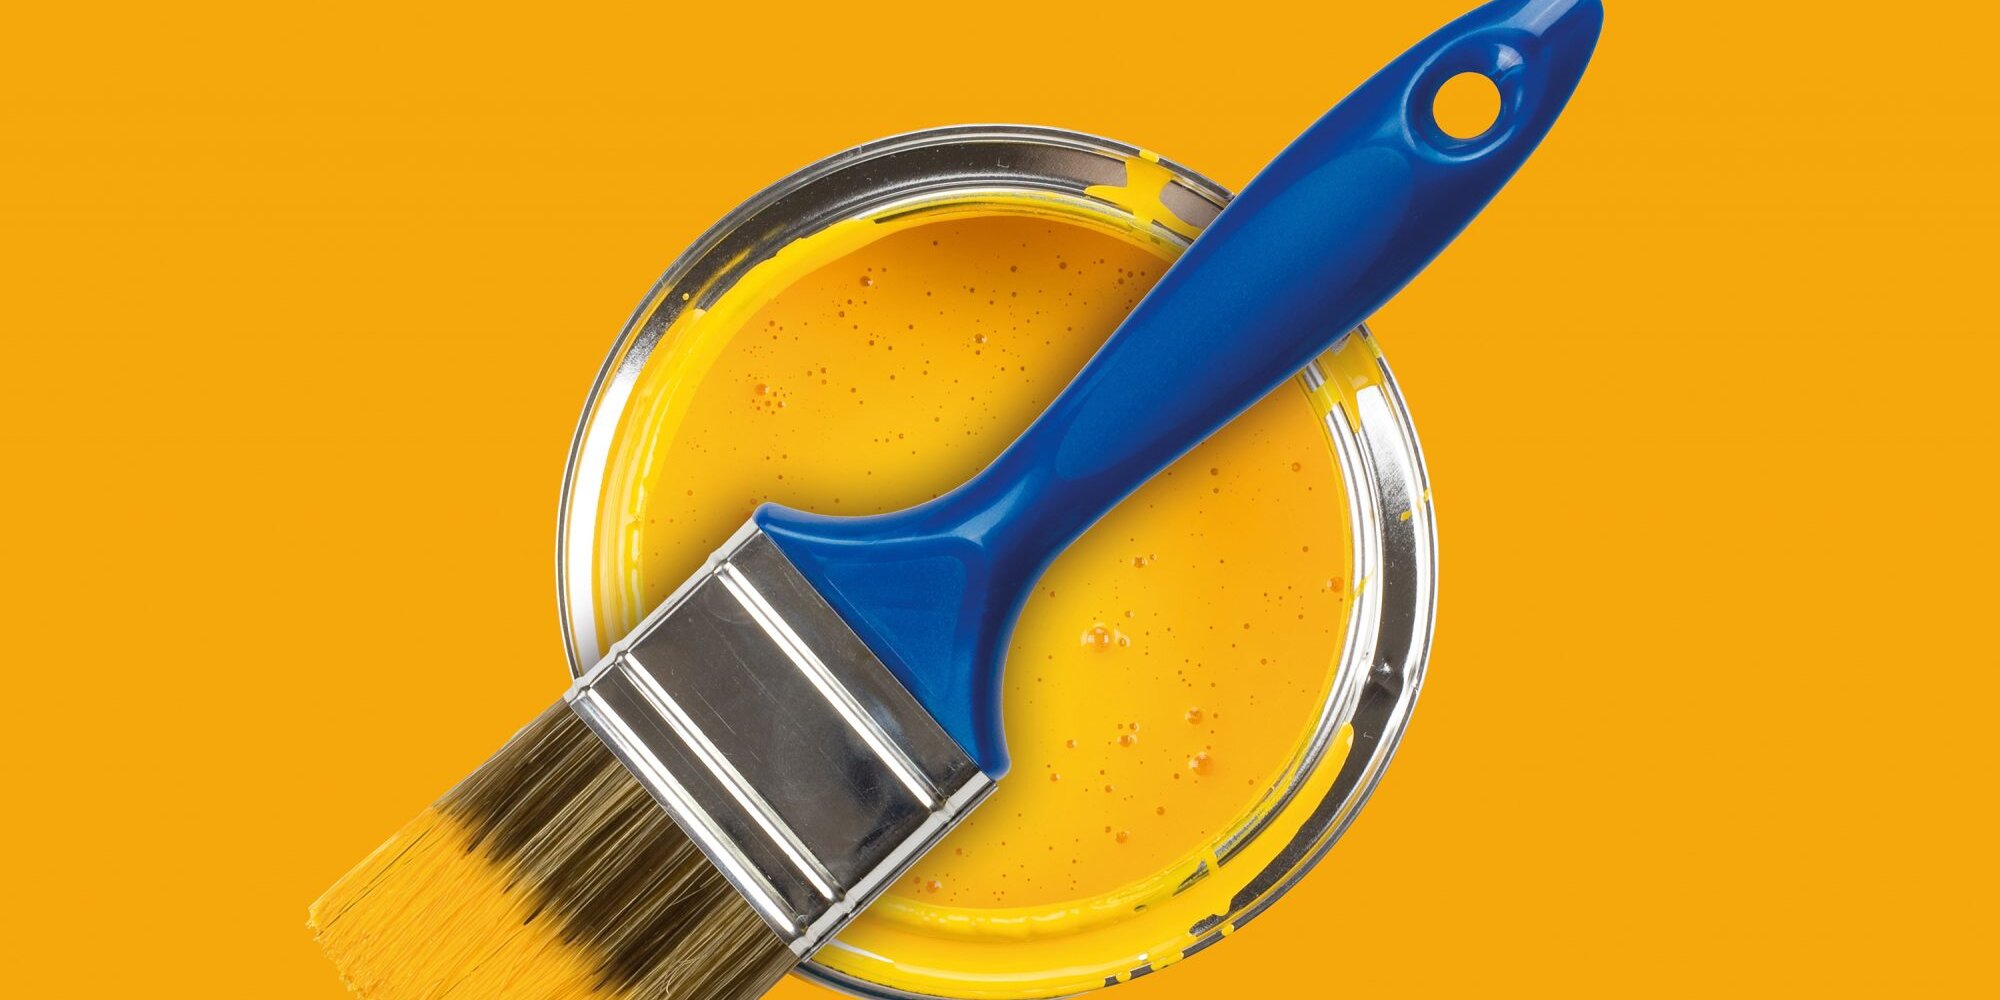
If you are struggling with your current painting job, the problem may not be your paint or your technique. Instead, it could be the type of brush you are using. If you are using water-based latex paint, you should avoid using a brush made out of natural-bristles. These bristles will soon be limp from absorbing the water in the paint, rendering the paint almost impossible to spread. Natural-bristle brushes definitely have their place though – they work great with oil-based paints. If you are using water-based paint, synthetic brushes, which are made from nylon and polyester, are a much better choice. While using a quality brush is definitely a critical part of the painting process, in order to achieve a smooth, professional finish, you have to make sure you have purchased the correct type of brush for the job.
Quality is important though, both when it comes to brushes and rollers. It doesn’t matter how much money you spend on high quality paint if you skimp on the tools you are using for the job. A good roller will spread paint more thoroughly and efficiently, which will actually save you money on paint in the long run as your job will require fewer coats to achieve a streamlined and smooth look. High end paint brushes are also worth the investment, because they will last for many years if cleaned thoroughly after each use. To protect your investment, brushes should be washed with water and dish detergent, then wrapped in airtight plastic wrap or aluminum foil. And don’t throw away their packaging – storing brushes just as they were when you purchased them will help them hold their shape.
Don’t Forget the Primer

For some painting jobs you can skip the primer, but for others, it’s an absolute necessity. If you are trying to lighten the look of a room by painting over a dark color with a lighter one, you really need to start with a coat of primer first to keep the old color from bleeding through. The problem of color bleeding through can also occur if you are painting wood. Wood naturally contains tannins, and when wood is wet, such as with paint, these tannins migrate to the surface. Once there, tannins cause staining and discoloration. You can easily solve this problem by sealing the wood first with a tannin-blocking primer before you begin painting. If you are dealing with a very dark color or dark wood, the risk of bleed through is even more significant. In both of these cases you should consider using two coats of primer before applying your preferred paint color.
Is self-priming paint good enough? Experts say no, the combination product that includes primer with the paint is likely not going to be effective in situations where primer is needed such as those mentioned above. Take the time to apply a primer alone first before moving on to paint.
Properly Prepare to Paint over Glossy Surfaces
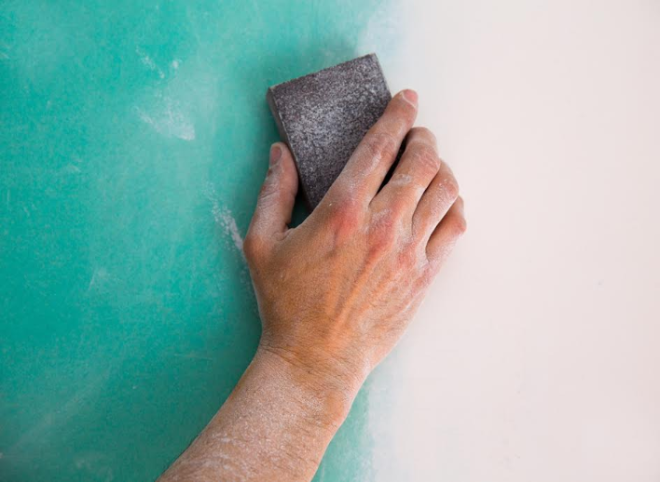
Both high-gloss and semi-gloss paints are often chosen for their durability, since they are excellent at resisting dirt and grease and are easier to clean than other types of paint finish. However, the same properties that allow glossy surfaces to repel smudges and fingerprints also makes them repel a fresh coat of new paint. This can cause your new paint to not adhere to the wall properly, leaving it looking uneven and messy. To avoid this painting disaster, glossy surfaces require a few extra steps before you begin painting. Start by sanding the glossy finish of the current paint to make the surface rougher – this will give the new coat of paint something to grab on to.
After sanding, thoroughly clean the walls to remove any particles created by sanding. An alternative to this process is to use a commercial liquid deglosser. These products can be applied to the wall to create a ready-to-paint surface.
Beware of Ceiling Mishaps
Usually the toughest spot you will deal with while painting is the space where the wall meets the ceiling, and you have to be careful that your work in this area is precise. It’s incredibly easy to bump the ceiling with your roller as you reach the upper parts of your walls. So what is the best way to avoid this mishap, so that you aren’t left repainting parts of your ceiling? The best thing you can do to prevent accidentally getting paint on your ceiling is to apply painter’s tape across the ceiling bordering the wall, and use a brush to paint a horizontal strip across the top 4-5 inches of each wall. This will create a buffer zone so that you are not using a roller too close to the ceiling in the first place. In case you do still end up with paint on the ceiling, while it is still wet, immediately spray some window cleaner on the spot, which should allow you to wipe the errant paint away leaving no trace of the mistake.
Don’t Leave Your Tape Up Too Long
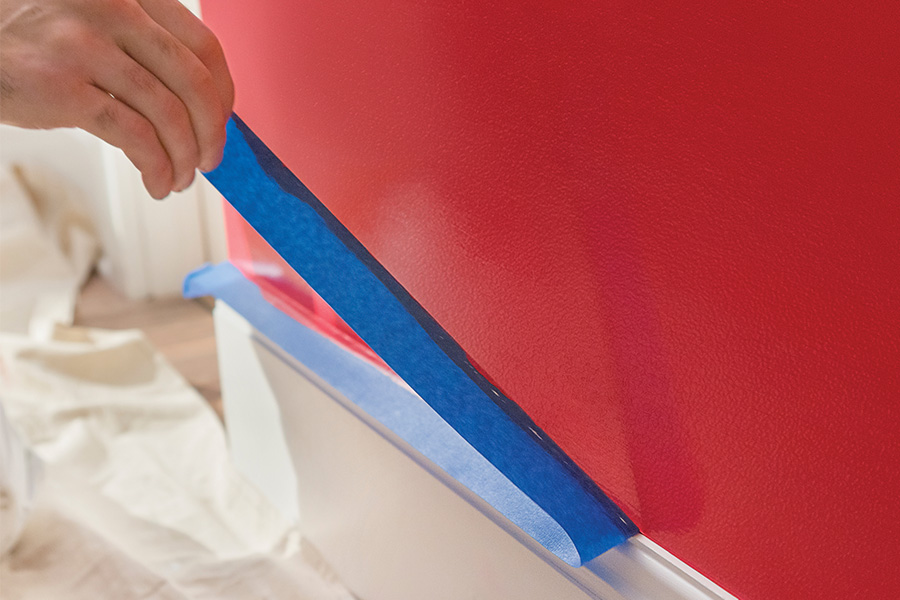
Very few of us can cut in corners and edges without employing the use of painter’s tape to achieve the cleanest lines. Taking the time to put up painters tape is the best way to make sure you will have professional-looking results. Unfortunately if you leave your tape up for too long, you can ruin your newly painted walls. When painters tape is not taken down promptly, it can be much harder to remove, and often results in your paint peeling when you do finally take the tape down. For optimum results, take your tape down about one hour after you have finished painting. If something happens to delay you and your tape is left up so long that it is hard to remove, you can still avoid a painting disaster.
Just use a razor blade to gently score along the edge of the tape as you peel it back. If you don’t have a razor blade handy, you can try using a blow dryer to heat up and loosen the tape’s adhesive. Once the glue is softer again, you should be able to remove the tape easily.
Another point when it comes to tape – go to the trouble of purchasing actual painters tape, rather than trying to get by with simple masking tape. If you use masking tape, you have even less time to remove your tape before the adhesive will become difficult to remove. Also, oil-based paints can seep through masking tape, so if you have taped off at the ceiling you may still end up with paint where you don’t want it.
Be Careful When Painting over Wallpaper
If you’re looking to freshen up a dated look by making the change from wallpaper to paint, you might be tempted to avoid the process of removing the wallpaper in favor of simply painting over it. The good news is, this is actually a perfectly fine way to approach painting, with one caveat. Water-based paint and primers can reactivate wallpaper glue, which will cause it to bubble up and begin peeling beneath your fresh coat of paint, ruining your work. If you are painting over wallpaper, just be sure to use an oil-based paint for a smooth finish. Alternatively, you can use an oil-based primer first over the wallpaper, and then use the paint off your choice.