If you’ve recently purchased a home that has a pool, or had one installed specifically for this “quarantine summer,” you may be unsure as to what all you need to do to prepare your pool for the offseason. It is vitally important that you take all of the proper steps toward closing your pool correctly, so that it is easier and faster to prepare it for use again next spring. In fact, failing to properly winterize your pool can lead to costly damage during the colder months. The time and money you spend taking care of things now will be well worth it when hot weather rolls back around again.
Your main goals with winterizing are to preserve your water quality, protect your pool equipment, and make reopening a faster process. Professional pool companies are happy to do this for you, for a typical fee of around $400-500. However, if you typically enjoy maintaining your pool yourself, it is definitely possible to tackle this job on your own. If you’re not sure where to start, or not clear on what all is really necessary, allow us to make a few suggestions to get you on the right track.
When Should You Begin Pool Winterizing?
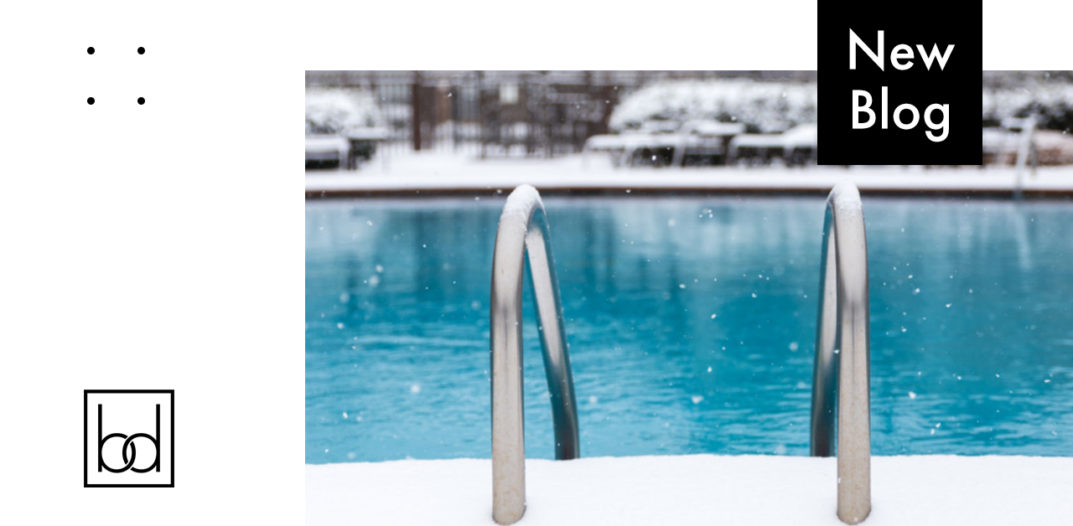
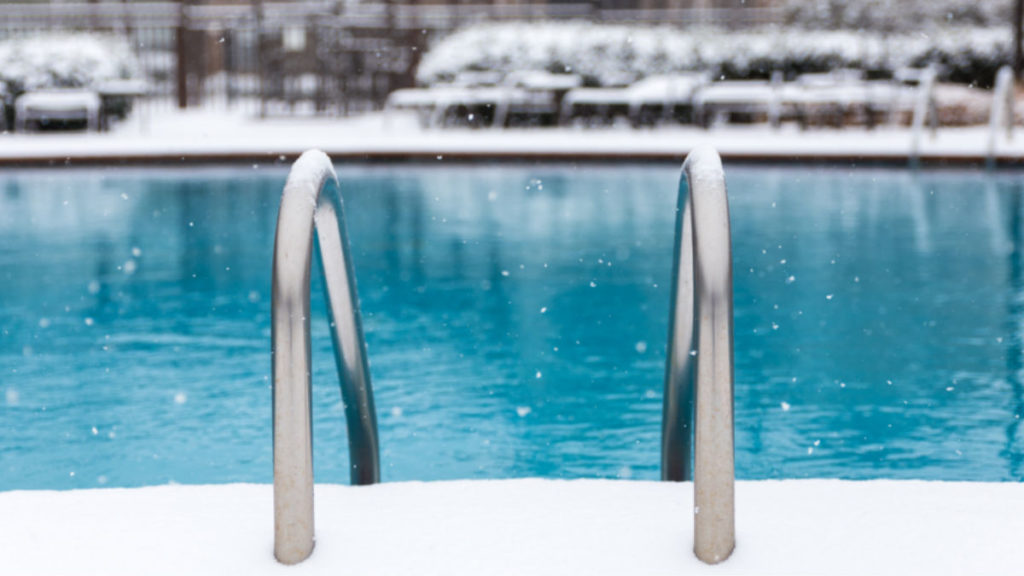
There’s no time like the present to tackle a task like closing your pool right? I mean Labor Day has passed and the kids are spending more time indoors and in class, so the pool is barely being used. Not so fast. Closing your pool when the weather is still quite warm can encourage algae growth, and make reopening your pool more complicated later. The best plan is to wait until your pool’s water temperature is hovering around 65 degrees unheated. So, even if you are no longer using the pool much, wait it out until the late summer heat has passed. This may mean not beginning the process until October here in the Atlanta area.
Clean Your Pool Before Closing
The first step in the pool closure process involves cleaning. First clean the water with a skimmer and remove any debris floating on top of the water. You will next need to brush the sides and bottom of the pool, being sure to knock off any debris or scum that has accumulated. Once this is done, you will want to thoroughly vacuum the pool floor to get rid of everything you brushed off. And don’t forget your skimmer baskets! Make sure they are empty while doing your cleaning. Finally, backwash the filter and then chemically clean it using a filter cleaner. This deep cleaning will discourage algae growth and keep the water clean throughout the long fall and winter months it is closed. The cleaner your pool’s water is when you seal it up for the winter, the cleaner it will stay in the off season.
Test & Balance Your Pool Water
Using test strips or an at-home testing kit, check the pH of your pool, or if you prefer, take a sample of your pool’s water into a local pool store to have it tested. The pH should be between 7.4 to 7.6 and the alkalinity should be 100 to 150 ppm. You should also check for water hardness – your ideal numbers for hardness should be between 175 and 275 ppm. The higher end of these ranges is better when you are preparing to close your pool for the season.
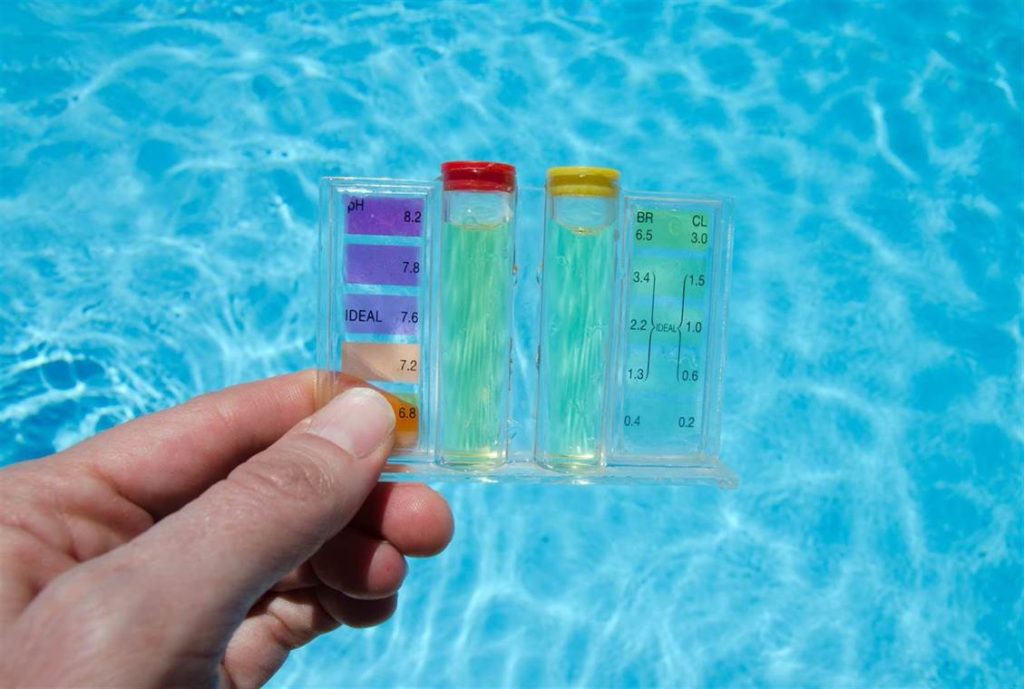
If any of these numbers are off, you will need to balance the water using one or more of the following: a pH increaser or reducer; an alkalinity increaser; and a hardness increaser. After adding the necessary chemicals, re-test your water until you have reached the desired levels. This may mean that you are testing and adding additional chemicals several times until the numbers are just right. It’s worth the trouble though – balanced water will protect your pool from corrosion.
Shocking Your Pool Water and Adding Algaecide
Shock your pool water to remove any remaining contaminants and increase the residual chlorine. It is important to use a high quality pool shock that will not increase the water hardness or pH that you have so carefully balanced. Shocking the water will protect against surface scale while the pool is closed. Once you’ve added the chlorine shock, circulate your pool water for four to six hours to encourage thorough dispersing. As far as when to shock the water, the best course of action is to add the shock five to seven days before you intend to close your pool. This will allow time for you to also add a winter algaecide.
Chlorine shock will destroy algaecide, so wait to add it until about a week after the shock. This will protect your pool from algae that thrive in colder temperatures. When shopping for an algaecide, choose one that will not cause surface staining – this will be indicated on the label. Just as with the chlorine shock, you will want to run the pool pump to circulate the product. For algaecide, run the pump for 24 hours after the application.
Preparing Pool Equipment for Winter
Your pool’s pump must also be winterized before closing up for the season. Start by making sure all equipment is powered off, then remove the drain plugs and allow all water to drain from the pump. Remove the pump and all attached hosing, along with the chlorinator if you have one. A good plan is to keep all the drain plugs in the pump basket so that you can easily find them in the spring. All of these items will last longer if they are stored indoors throughout the colder months.
You should also remove and clean the pool’s filter and store it inside for the winter. The exception is a sand filter, which may be too large and/or heavy to easily store inside. If this is the type you have, set the multiplier valve to winterize. If there is no winter setting on your filter, set it between two positions and remove the bottom plug to allow it to drain.
Don’t Neglect to Drain Water From Your Pool Before Closing
Draining some water from your pool is an important step, because lowering the water level below the skimmer protects it from cracking due to freezing temperatures. If you have tile on the sides of your pool, you should lower the water level to about 4 inches beneath the tile. This will help prevent possible damage to the tile.

Once you have the water level lowered sufficiently, you will next need to get the water out of the lines. You can tackle this project with a shop vac, using the discharge side of the machine to blow the water out of the lines coming from the filter. As the water is removed from each line, use a plug to keep water from coming back into the system. Expandable rubber plugs are ideal, especially if your return lines are not threaded.
Store Pool Equipment for the Winter
Ladders and other accessories that can be removed from your pool should be taken off and stored inside for the winter. This includes any equipment you keep along the pool deck, such as rails and safety equipment. All of the things you use in your pool will last far longer if they are properly stored during inclement weather. If you will not be using your pool area seating during the colder months, now is a great time to also cover and/or store those pieces as well.
Pool chemicals also need to be stored properly for the winter. Many chemicals lose their potency over time, or can become less effective if exposed to extreme temperatures. Read the product labels carefully to decide if you can store the chemicals inside safely, or if the product should be discarded completely and a new package repurchased in the spring.
Cover Your Pool
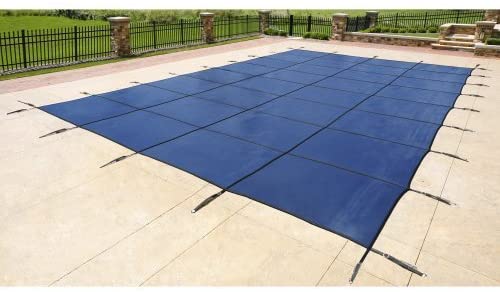
When you have finished all the previous steps, you’re ready to cover the pool for it’s winter hibernation. Some people choose to use an air pillow beneath their cover, placed in the middle of the pool, but this is only necessary for above ground pools. If you have young children or pets that could potentially find their way to the pool in the off-season, a safety cover is a good idea. To be labeled as a safety cover, the cover must be able to withstand 485 pounds of weight per 5 square feet of space. A regular winter cover will not be able to tolerate such weight, and is therefore not guaranteed to withstand the weight of a small child. To avoid damage to the cover, do not use bricks, concrete blocks or other heavy objects to hold it in place. Instead the cover should be secured with cables or winter cover clips.
You may also want to consider investing in a cover pump. These pumps remove the water that accumulates during the winter from rain and melting snow. While we rarely see significant snow in the Atlanta area, we do deal with rainy winters and the occasional tropical storm remnant, so these small and inexpensive pumps can make a major difference. Without one, your cover may slide down into the pool itself, creating quite a mess.
If you follow these steps, your pool will be protected from the temperature and weather hazards of the winter months. Remember, it is always easier and cheaper to properly prepare your home for winter than it would be to make repairs come spring.
However, if reading through these steps has made you feel as though winterizing your pool is a daunting task, do not hesitate to call a pool care professional to tackle the project for you.